Create and Assign Task Lists
How to create and assign task lists in your Namely site.
OVERVIEW
Task lists can be used to track the progress of projects and ensure that the appropriate people are aware of what is expected of them to complete an assigned task. Some common use cases for task lists include:
-
New hire/onboarding training: Employees may be required to complete certain training that can be tracked with task lists. Other onboarding requirements could include getting set up with IT equipment or benefits enrollment.
-
Event planning: Track vendor communications, purchases, and other to-dos.
-
Project planning: Track specific assignments on internal projects.
Access Task Lists
To access task lists, click Tasks on the Namely homepage.
Refer to this video: Create and Assign Task Lists
CREATING A TASK LIST
To create a new task list:
-
On the Task Lists page, lick Create Task List.
-
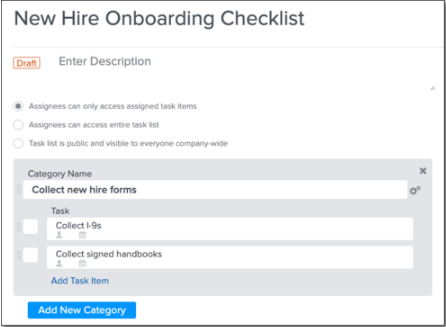
Enter a name for the task list.
-
Enter a description for the task list (optional).
-
Select a visibility level for the task list. You can select:
-
Assignees can only access assigned task items
-
Assignees can access entire task list
-
Task list is public and visible to everyone company-wide
-
Click Add New Category.
-
Enter a Category Name.
-
The task category is a section or sprint of a project consisting of smaller tasks.
-
Click Add Task Item and enter a description of the task.
TIPS
-
You can add as many task categories and task items as you need.
-
To change the order of task categories and task items, drag and drop them.
-
To mark a task category or task item as completed before kicking off the task list, select the check box next to the category or item.
-
To delete a task category or task item, click the X icon next to it.
Assign Task Categories and Items
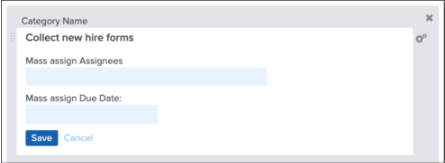
To mass assign an entire task category to one or more employees:
-
Click the gear icon next to the Category Name.
-
Enter the names of any employees you want to assign the task category to.
-
Enter a due date the task category needs to be completed by.
-
Click Save.
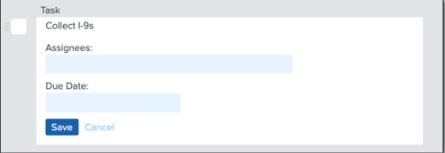
To assign individual task items to one or more employees:
-
When creating a task item, click the silhouette.
-
Enter the names of any employees you want to assign the task to.
-
Enter a due date the task needs to be completed by.
-
Click Save.
Task Activity
Any changes to task list owners, assignees, due dates, and task items are automatically detailed in the activity feed. Employees can also share updates related to the task list.
Task Owners
Task owners are listed to the right of task categories and the activity feed. Additional owners can be added by searching their name or job title in the search field. To remove a task owner, click the X icon next to their name.
After a task list has been kicked off, you can send reminders to task owners by clicking the bell icon next to their name.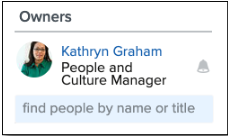
Kicking off a Task List
To kickoff a task list:
-
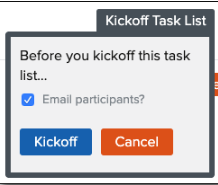
Click Kickoff Task List.
-
To email the participants in the task list, select Email participants.
-
Click Kickoff.
Duplicate and Delete Task Lists
To duplicate a task list:
-
Click Duplicate.
-
Enter a name for the copy of the task list.
-
Click Save.
Note: If you duplicate a task list, it will also duplicate any assignees and owners.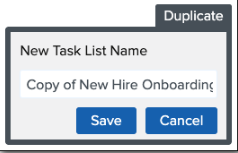
To delete a task list:
-
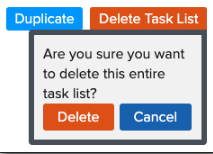
Click Delete Task List.
-
Confirm you want to delete the task list by clicking Delete.
MY TASKS
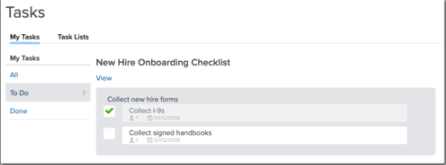
Any task items you are assigned are listed under My Tasks.
-
All assigned tasks, pending and completed, appear under the All tab.
-
Pending tasks appear under the To Do tab.
-
Completed tasks appear under the Done tab.
To complete a task item assigned to you, select the checkbox next to the item.